

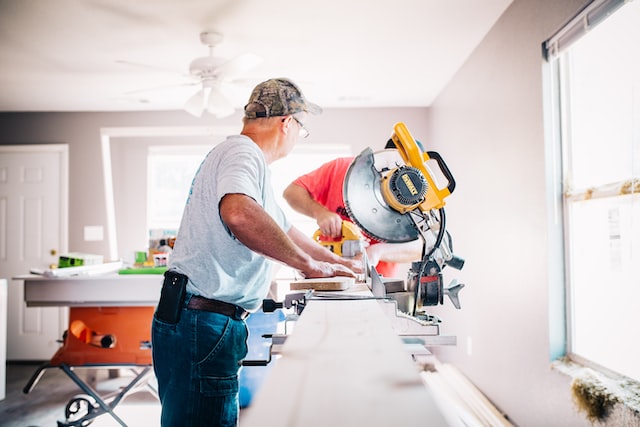
This is an excerpt from the Book called ”Home Improvements Manual”. Continue reading to learn more about Structural Defects, thanks to the author.
Posts, Beams, And Floor Joists
Identifying Structural Defects
As a homeowner you may be aware of floor problems in your house. Warped, loose, or squeaking floor boards are annoying reminders that all is not perfect. Floors that sag, slope, or shake when walked on are symptoms that should not be ignored. It’s important to distinguish between indicators of harmless warping or shrinking, and those of more serious problems.
Nearly all wooden floors are built and supported in the same way. The finished flooring is laid atop a subfloor. The subfloor rests on joists. The weight of floor, subfloor, and joists is carried down by beams, posts, and bearing walls to the footings or foundation. Structural faults in any part of this system are reflected upward and appear as problems in the finished flooring of a dwelling.
If a table or chair rocks on its legs, if the floor moves when someone walks across the room, or if you live with squeaking boards underfoot, you know there is something wrong. If doors and windows stick and plaster on walls or ceilings is cracked, you should suspect structural problems. But even without any of these indications, it is worth-while to make occasional checks of the floors and their underlying supporting elements.
The drawing below is a catalog of some common structural problems that can exist in a frame house and show up in the flooring above. Obviously some of the situations depicted are unlikely to be found in a normally well-built house, unless a house has deteriorated seriously with age.
What follow on this and ensuring pages are diagnostic methods and remedies for dealing with these common problems in floors and their support system in a typical house. By and large, the remedies consist of re-establishing a solid connection between the floor and the structural elements-the joists, posts, etc.-employed to support the floor sand other parts of the house.
Most diagnoses and some cures can be accomplished from above the floor. Others should be performed from beneath the floor joists and similar elements. In many cases this is done easily from a crawl space or an unfinished basement. But on upper floors, or if the basement is finished, it may be necessary to remove a few floor boards, or a part of the ceiling below, to spot or deal with a problem.

Finding the problems: Squeaking floor boards are the easiest to check. You need only walk back and forth to locate the noise. Squeaks alone usually indicate loose flooring.
Jump up and down on the floor. If it shakes underfoot or if doors and windows rattle, the floor joists are most likely too weak for the load they carry. The joists may be undersized, they may span too great a distance, or they may have cracks, or rot, or sizable notches.
Roll a marble or a rubber ball across the floor. If it always heads for the center of the room, you have sagging joists. If it repeatedly ends up in one corner or by a particular wall, you have sloping joists. Sagging and sloping joists, especially near an exterior or interior bearing wall, can indicator a major problem. They probably mean that the joists are not properly supported by a beam or the foundation wall.
While these last are major problems, they are by no means incurable. You can usually confirm your diagnosis by physically inspecting and probing the joists, the beams, and the foundation wall on which the joists rest. Frequently, the problem is simply that the joists have shrunk with age, or a plumper or an electrician has notched too liberally into several joists to install a pipe or other utility connection. It may be that the cross-positioned bridging strips for bracing the joists are loose, worn, or absent altogether.
Use the diagram below as a guide to trace the path of load downward. The finished floor should be in close contact with the subfloor, which in turn should be firmly secured to the floor joists. The joists should rest solidly on the sills of the foundation wall, or on beams supported adequately by strong posts. As you trace downward, watch for play or movement at each link of the structural chain that carries the load down to the foundation and post footings.
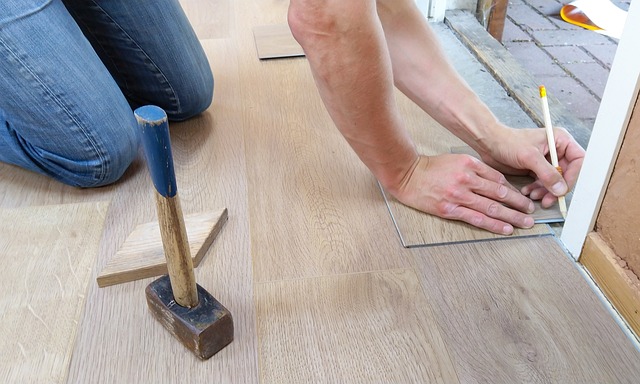
Repairing Squeaking Floors
In many cases you can fix squeaking floors by working directly on them from above. Squeaks caused by slight rubbing between boards can be silenced by lubricating with graphite or talcum powder. Glazier’s points (the small metal triangles used to secure window panes) can be driven between boards to anchor a loose member more securely to its stable neighbors.
Boards that have loosened, and buckled upward, can be nailed back into place. Finishing nails hammered in diagonally often stop such squeaks. Drill pilot holes and use a nail set to recess the nail heads. Another method is to glue down loose boards.
Wood screws have much more holding power than nails. They should be used in areas of heavy foot traffic. Drill a pilot hole and countersink the screw. Fill the countersink with a plug cut from a length of dowel.
Loose floors can sometimes be corrected from below the floor. For instance, boards that have lifted from the subfloor can be drawn down and secured with wood screws as illustrated at the bottom of this page. When you find that a joist has shrunk away from the floor, firm contact can be resorted by driving wooden shingles as shims between subfloor and joist. Try for a snug fit, remembering that over-driving the shim may lift the flooring and create new problems. Where the distance between the floor and a shrunken joist is considerable, or where a large area is unsupported, nail a hardwood batten (bottom illustration) to the joist after making sure the batten is in firm contact with the subfloor above.
All of these remedies assume that the joists themselves are solid and firmly supported by their posts and beams.
Squeaking Floor: A squeaking, loose floor board can be shimmed tight by driving glazier’s points at 6-in intervals. Use a nail set to drive points below the surface of the floor. Powdered graphite or talcum powder forced between loose boards often eliminates squeaks.
When nailing boards back into place, drill a pilot hole three-fourths the diameter of the nail to be used. Drive finishing nails diagonally in pairs Recess the nails with a nail set. Use wood putty to plug hole and to fill cracks between boards. Sand and finish to match the floor.
Other methods: Wood adhesive or carpenter’s glue offers a quick way to refasten a loose and squeaky board. Good adhesives will do the job and they require no tools. After you have applied the glue, weight the board in place for the length of time that is recommended by the manufacturer.
Wood screws should be used where there will be heavy traffic. Countersink flat-head screws in pilot holes. Soaping the screw threads will ease the friction of getting the screws through hard or old wood. Glue in a wood plug to complete the repair. Stain and finish plug to match existing floor.
Beneath The Floor: Flooring that has lifted from the subfloor can be drawn back in place with wood screws from below (left); a 1¼–in long screw will generally give good purchase on the loose board without breaking through it (check thickness of subfloor and floorboards to determine the proper screw length).
A floor joist shrunken with age is shown in the center illustration. Contact between the subfloor and the joist is restored by driving wooden shingles in place as shims. Achieve a snug fit, but do not drive the shim so far as to raise a bump in the floor. This approach can be used to correct first-floor problems from the basement.
A large gap between shrunken joist and subfloor (right) is closed using a wooden batten-either a 2 Χ 4 or 2 Χ 6. Nail the batten to the joist, with the batten firm and flush against the subfloor. After installing the batten, replace the bridging between it and the neighboring joist, as illustrated else-where on these pages.