
This is an excerpt from the Book called ” Tiny House Design & Construction Guide”by Dan Louche. Continue reading to learn more about Subfloor Framing & Insulation, thanks to the author.
The subfloor of a tiny house is a composite of the metal trailer and the wood constructed subfloor.
In a conventional shed or house, the subfloor framing is generally constructed of 2×6 or larger lumber. In a tiny house, 2×4 lumber can be used because the subfloor will be resting and getting support from the metal framing of the trailer. While thicker lumber can still be used, which is usually only considered to create a larger cavity for additional insulation, the thinner lumber allows for more room in the interior of the house since the overall height of the house is limited.
Table of Contents
TogglePREPARING THE TRAILER

If you are using a trailer other than a tiny house trailer, the first step is to prepare the trailer. Depending on your particular trailer and its features, the preparation work required will vary. Consult the section on trailers to identify any parts that may need to be removed. If your trailer has a wooden deck, every other board from the deck will need to be removed. This is done to reduce the total weight of the house. Additionally, these boards will not bear much weight compared to the subfloor framing boards that run perpendicular to the decking. Before removing the boards, verify that none of the trailer’s electrical wiring is attached to any of them. These trailer boards should not be used in the construction of the house, since they are pressure treated. Pressure treated wood is treated with chemical preservatives to make it more resistant to insects and decay. It is not used in tiny home building because it is heavy, it outgasses, and it contains metals that can react with the metal in your fasteners. When dissimilar metals come in contact with each other a galvanic reaction occurs which can rapidly corrode fasteners.
ADDING FLASHING
Next, flashing is installed over the entire trailer deck surface to protect the underside of the house, specifically the exposed insulation that will be added later. There are two materials that can be used as flashing.
ROLLED GALVANIZED FLASHING
If you are using a standard equipment trailer with a wood deck, rolled galvanized flashing is the easiest to install. A hand stapler (using T50 staples) or roofing nails can be used to attach the flashing to the wood. The flashing should overlap by at least 4 inches.
If you are using a tiny house trailer, then there is no wood on the deck to attach the flashing to. To get around this, you can attach the rolled flashing to the underside of the subfloor before installing it. An even easier option is to use metal roofing.
INVERTED METAL ROOFING
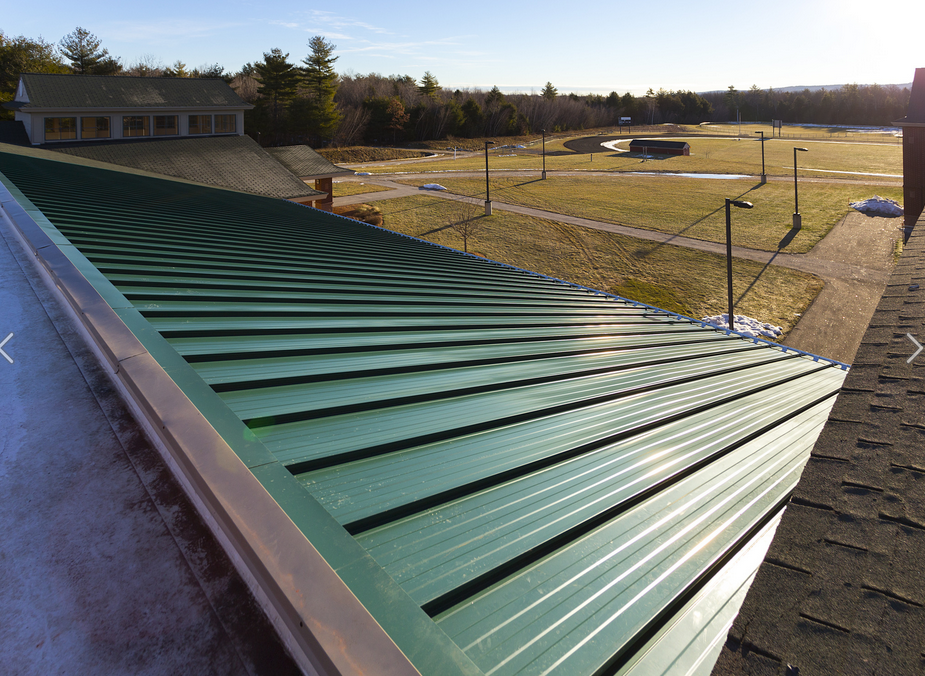
Metal roofing panels are easier to work with since they are rigid. The panels selected should have a profile that includes large flat sections. This will make them easier to line up so that they do not interfere with the trailer frame. The roofing material must be installed upside down, with the raised portions facing down. This way, they will not interfere with the subfloor installation.
Next, if your trailer has curved fenders, create a template that will be used later when cutting the sheathing and siding. This template can be laid on the sheathing to replicate that curve when it needs to be cut in a later step. This is accomplished by holding a board up behind the fender and drawing a line that matches the curve of the fender. Use a jigsaw to cut along the line and create the template.
Before beginning any building, verify the measurements from the plans with the physical measurement of the trailer. This is particularly important for the cutouts for the fenders, if applicable, since the fenders may be in a different location than those in the plans.
The subfloor can be divided into three sections: in front of the fenders, behind the fenders and between the fenders. Each section can be built and moved separately for convenience.
When constructing the subfloor or wall framing, it is easiest to mark the kick plate and the top plate at the same time. This ensures that all the boards will be properly aligned.
Before constructing the subfloor, ensure that the joists are not lined up with the metal support beams (cross members) under the trailer’s decking. If they are, the subfloor framing will need to be shifted so that the subfloor can be properly attached to the trailer. Later on, holes will be drilled through the subfloor and into the decking. The metal supports should not be in the way
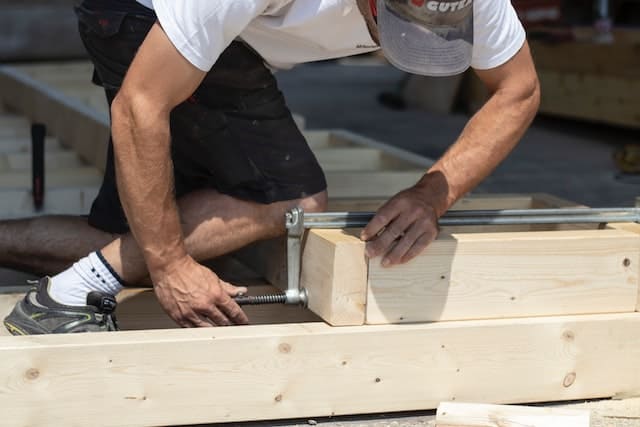
FRAMING FASTENERS
Either screws or specialized nails can be used to join the pieces of wood for the framing.
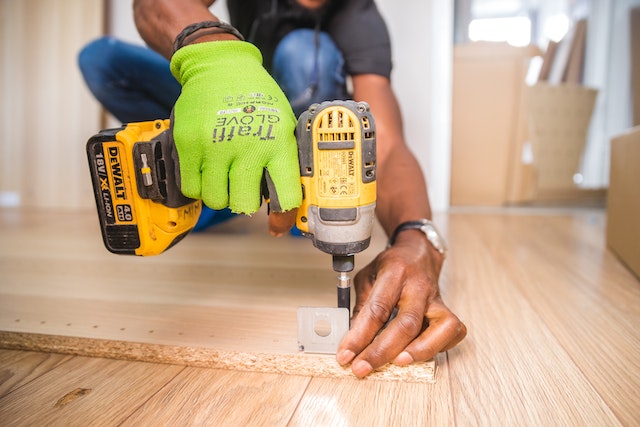
SCREWS
If screws are to be used, the first board that the screw is to pass through will need to be pre-drilled; otherwise, the boards will not bind together when the screws are tightened. If the boards are not pre-drilled, you also risk splitting them, especially when driving screws near the ends. A 31/2 inch exterior screw should be used. Driving a 31/2 inch screw requires a large amount of torque and a standard power screwdriver will likely only strip the head of the screw. To avoid this problem, use an impact driver. These are very effective, but also louder than a standard power screwdriver.
It can be helpful to secure the subfloor sections to the trailer at just a few points before drilling all of the holes. A small shift in a subfloor section during drilling can result in a lot of wasted work, as the holes may no longer lineup with the trailer beams. To attach the subfloor sections to the trailer, use 3/8 inch galvanized hex head bolts sized long enough to penetrate through the subfloor and trailer, leaving approximately 1 inch of bolt sticking out. Add washers to each end of the bolt and secure it with a 3/8 galvanized nut.
Having the small amount of excess bolt will be helpful if the nuts ever need to be re tightened. Pliers can be used to grab that extra section of the bolt to prevent it from spinning, while tightening the nut. If the bolt is installed in the opposite orientation, with be nut on top, there will be no way to re-tighten the bolts later on.
SUB DOOR INSULATION
The next step is too sad the subfloor insulation. Since there are no wires or plumbing in the subfloor, it is best to fill as much of this cavity as possible. Use foam panels, in a combination of sizes, to achieve the 3 ½ inch depth needed. Cut the panels so they are approximately 1 inch smaller than the cavity that needs to be filled. Center the panels in the cavity and use a spray foam insulation product to fill the ½ inch gap around the edges.
If nails are to be used, choose either ring shank or spiral shank nails that are more difficult to remove. Ring shank nails have small rings or ridges around them. Spiral shank nails, sometimes called screw nails, are twisted so that they rotate as they are driven. Both of these nails may also come with an adhesive on them to further hinder their removal. Nails are easier to pull out than screws, but the wall will receive additional support from the sheathing that will be screwed and glued to the framing. The primary benefit of using nails is that a pneumatic framing nail gun can be used to drive the nails, significantly speeding up the build process.
ATTACHING THE SUBFLOOR TO THE TRAILER
On the top surface of the trailer deck flashing, use a chalk line to mark the center of the beams or boards that run the length of the trailer. Move the subfloor sections into place. Where the joists and chalk lines intersect, use a one inch paddle bit to drill down into the top surface of the joist, deep enough so that the head of a hex bolt and washer will not protrude above the surface when installed. Then, in the center of that hole, use a 3/8 inch drill bit to drill down through the remaining section of the joist and through the beam or board below. Repeat this for each possible attachment point.
It can be helpful to secure the subfloor sections to the trailer at just a few points before drilling all of the holes. A small shift in a subfloor section during drilling can result in a lot of wasted work, as the holes may no longer line up with the trailer beams. To attach the subfloor sections to the trailer, use 3/8 inch galvanized hex head bolts sized long enough to penetrate through the subfloor and trailer, leaving approximately 1 inch of bolt sticking out. Add washers to each end of the bolt and secure it with a 3/8 galvanized nut.
Having the small amount of excess bolt will be helpful if the nuts ever need to be retightened. Pliers can be used to grab that extra section of the bolt to prevent it from spinning, while tightening the nut. If the bolt is installed in the opposite orientation, with the nut on the top, there will be no way to re-tighten the bolts later on.
SUBFLOOR INSULATION
The next step is to add the subfloor insulation. Since there are no wires or plumbing in the subfloor, it is best to fill as much of this cavity as possible. Use foam panels, in a combination of sizes, to achieve the 3 ½ inch depth needed. Cut the panels so they are approximately 1 inch smaller than the cavity that needs to be filled. Center the panels in the cavity and use a spray foam insulation product to fill the 1/3 inch gap around the edges.