Table of Contents
ToggleDrywall Sanding
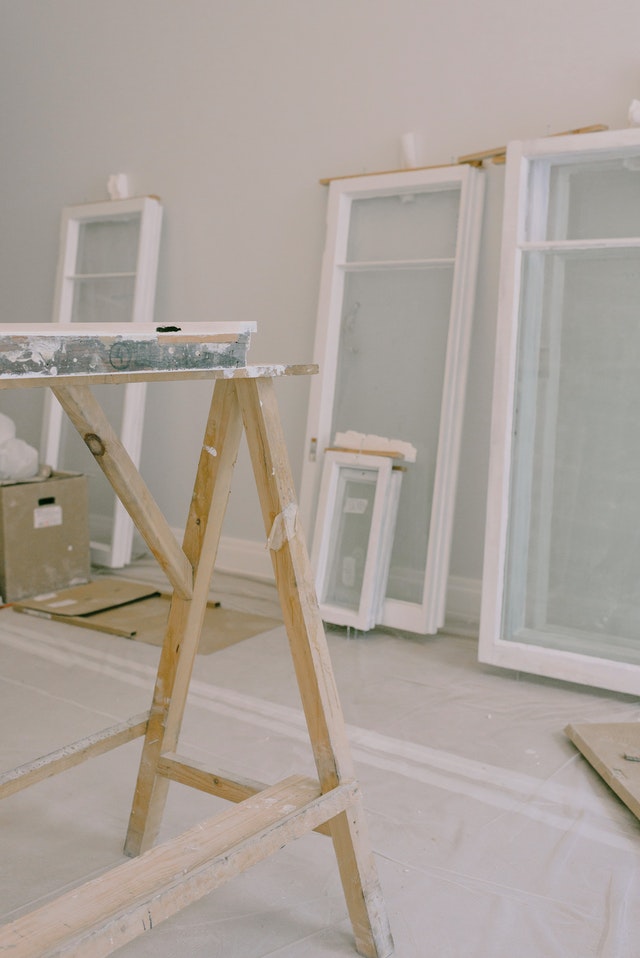
Your interior walls are most likely made of drywalls. When you want to add a creative decoration on drywall, you may opt for paint or tiles. But before you get to painting or adding decorative tiles, you have to perform drywall sanding to remove the imperfections that may otherwise be visible after painting or cause uneven surfaces when installing your tiles.
Drywall sanding is an essential process that many professionals do not take lightly to achieve the best results. You must also do it carefully and professionally as a DIYer.
Here are some tips to help you perform this process efficiently.
Required tools and materials
● Sanding block
● Sanding sponge
● Putty knife
● Sanding pole
● Sponge
● Hand-held lamp
● 150-grit sandpaper
● Joint compound
Drywall sanding steps
Use a unique sanding tool
Performing drywall sanding with the right tools is the key to getting satisfied with the results. For drywall ending, the tools mentioned above are key to work effectively on this stage.
In addition to these, you will need a dust mask and a pair of goggles to keep dust off your eyes and nose. A hat can also help keep dust out of your hair.
If you are sanding several rooms, pole sanders can be an excellent addition to the tools. However, when using pole sanders, you need to be extra careful to prevent them from flipping over and causing damage.
Using a drywall sander
When using a drywall sander, sand while applying light pressure along the edge of the seams and around the screws. Also, sand, the center of seams to remove ridges and bumps.
Choose the finest sandpaper.
If you go for an 80-grit paper, you can speedup the sanding process, but it will not give the best result.
For better results, using 120-grit or the 150-grit paper is recommended. Purchase pre-cut sheets that can fit your hand sander. Install it in your hand sander and ensure it’s taut by first anchoring one end under the clamp.
Push the other end under the other clamp and tighten with screws.
Fill the gouges and grooves with a joint compound.
Do not try to sand the grooves and gouges. It is easier to fill a joint compound coat, especially at the edges of joints where too much sanding can destroy the paper-faced drywall.
Inspect for imperfections using a handheld lamp
Get a lamp and inspect the job for imperfections and problems that need to be addressed. Shine the light parallel to the wall surface.
Make these spots that need filling and finish off the job.
Prime and then sand again
Most beginners tend to skip sanding after priming. But if you remember and perform this step, the results will be much better for you. Sanding after priming removes lumps and paper fuzz.
If this work looks too much for you, don’t hesitate to call Golden State Drywall Repair Pros to offer professional help.