
Table of Contents
ToggleBasic Painting Techniques
This is an excerpt from the Book called “The Paint Effects Bible 100 recipes for faux finishes” by Kerry Skinner. Continue reading to learn more about Basic Painting Techniques, thanks to the author.
Basic Techniques
Although individual paint effects are covered in detail on pages 40-251, there are a number of general techniques that you should master before you start. These include various ways of preparing a surface; methods of applying paint; finishing techniques that will keep your paint looking good; how to keep your brushes and other equipment in serviceable condition; and how to work safely.
Surface preparation
Careful preparation is essential, as the quality of your base surface will affect the look of your final paintwork. Different surfaces require different treatments.
Cleaning surfaces
The surface must first be thoroughly cleaned: quite apart from the fact that surface grime will dirty any new paint you apply. Paint will not adhere to grease and dirt. Wash the surface with household detergent diluted in water and then wipe it down with a clean, damp cloth. For very dirty surfaces, use a solution of sugar soap and rinse off with clean water.
Preparing plaster
Fill any cracks or holes with interior filler and sand smooth when dry. For large cracks, apply filler with a trowel; for small cracks and dents, use a filling knife. After sanding, wipe the surface with a clean, damp, lint-free cloth to remove all dust.
Preparing wood
Wood that has previously been painted or varnished must be sanded to remove loose material and leave a smooth working surface to which the paint will adhere. Choose coarse, medium, or fine grade sandpaper, depending on the state of the existing surface and the level of smoothness you require. If you are preparing an uneven or previously treated surface such as wood paneling, you may need to use a wire brush to clean inside grooves or other areas that are difficult to sand. Always sand wood following the direction of the grain. Always wear a face mask to avoid inhaling dust.
For layers of thick, uneven paint and varnish that cannot be rubbed back by sandpaper alone, use a commercial paint stripper. Wear protective gloves and a face mask and follow the manufacturer’s instructions carefully. Apply the paint stripper liberally and leave it to soak in for at least 30 minutes before; removing the paint with a metal paint scraper.
Water-based paints will not adhere to surfaces that have previously been treated with oil-based stains, dip medium- grade steel wool in mineral spirits and scrub the surface with a circular motion, wearing protective gloves. Waxes, polishes, and shellacs can be removed in the same way using medium-grade steel wool and methylated spirits. Wipe down with diluted detergent. When dry, sand thoroughly.
Fill any sections of missing grain or cracks with commercial wood filler. Allow the filler to dry, then sand. Do not use resin based fillers if you are using an acrylic primer. With paint finishes that require a very smooth surface, very open grain wood will need to be filled. Use fine commercial filler designed for walls for this purpose. Seal knots on new, bare wood by applying knot sealer with a paintbrush to prevent resin from seeping through to the final paint finish.
Priming your surface
Primers seal the surface, provide initial coverage, and create a bond between the surface and the paint.
Priming plaster
Fresh or previously untreated plaster, or very porous surfaces, should be sealed with a ready-mixed drywall sealer or white latex paint diluted with water before you apply the paint; otherwise you will not have sufficient time to work before the paint dries, as the surface will absorb the moisture in the paint. Brush the sealer or diluted paint on evenly and leave it to dry completely before you apply the paint effect.
Priming wood
For wood, the type of primer depends on both the surface and on the type of paint you are planning to use. In most instances, commercial acrylic primer is suitable, but the instructions in the projects will tell you exactly what to use.
Getting ready to paint
Carefully mask all fixtures and fittings, light switches, electrical sockets, and the baseboard with painter’s tape, making sure the tape is pressed down firmly.
Arrange all the paints and equipment you to need in the center of the room and try to keep them as neat and tidy as possible while you work.
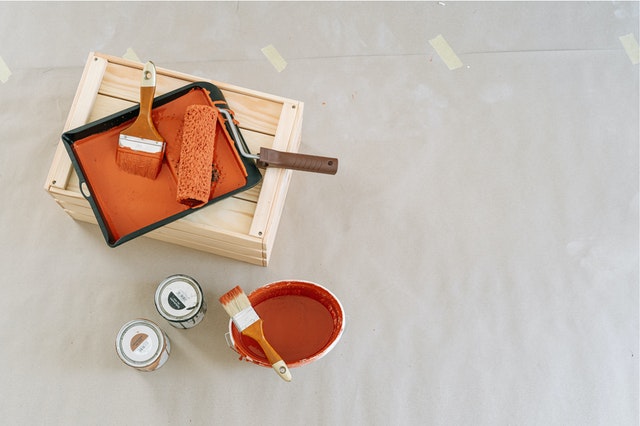
Mixing paints
Always mix paints and glazes in a paint pail. Make up more than you think you will need, because it is virtually impossible to achieve the same consistency and color twice, especially if you’re working in a hurry. Try out color combinations on a piece of spare board and position it in different parts of the room at different times of the day to get a good idea of its effect under all circumstances and lights.
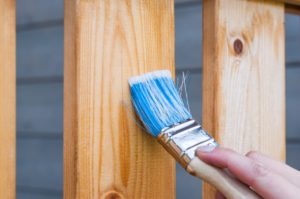
Using a brush
Brushes can be used in a variety of ways, but whatever effect you are creating remember these general guidelines. Always use a clean, dry brush. Never load your brush any further than three-quarters of the way up the bristles. Be sure to clean your brushes thoroughly after use to prolong their life.
Painting straight edges
To paint completely straight bands of color (for example, when painting a pattern), mark out the edges of the relevant area with painter’s tape. Stick the tape in position, with one edge on the line where the first color will finish, and then paint up to that line and onto the tape. When the paint is dry, just peel off the tape to leave a perfectly straight edge.
To get a second color to line up perfectly with the first, wait until the first color is completely dry and then stick tape along the edge you have just painted.
Always make sure the tape is pressed down firmly, or else the paint may creep under the edge. Remove the tape as soon as possible after painting-longer it is left on the surface, the more chance there is of a sticky residue being left behind.
Dry-brushing
In dry brushing, undiluted paint is applied in random directions, leaving a little base color exposed in places. The effect can be used to create or exaggerate the texture on a surface, or to suggest the effect of paint fading over time.
As the name suggests, the brush is used almost dry. Dip the end of the bristles into paint and scrape off the excess on the edge of the paint pail. Hold the brush almost parallel to the surface, and apply the paint using just the tip. Turn the brush over to use the paint on the other side of the bristles and change the angle of the strokes for a random effect.
Stippling
Stippling is a delicate and simple technique to add color and subtle texture to a surface. As the application is so fine, blending of colors can be achieved with ease. Stippling can be used to create a uniform and smooth background for mural or lining work and was traditionally used with dragging and oil glazes on furniture and interiors.
Work in a dust-free environment to minimize the transfer of dust particles that the bristles of the stippling brush might pick up. Dip the stippling brush lightly into the paint and dab off any excess on paper or cloth. Stipple by dabbing he bristle ends onto the surface.
Dragging
Dragging is a simple method of creating a fine, linear texture with a brush and can be used for a variety of paint effects.
Dip just the tip of the brush into the paint or glaze. Hold the brush in one hand and place your other hand near the tip of the bristles-this will help you control the brush. Pull the brush down through the wet paint, trying to keep the line as straight as possible. For the next section of paint, overlap the previous strip slightly and drag as before.
Flogging
Flogging is used to create some wood-graining and marble effects. Starting at the bottom of the glazed or painted area, hit the surface in a flogging action with the flat tip of the brush, working upward if you are painting a vertical surface such as a wall or away from you are working flat.
Lining
Some designs require the creation of fine lines – for example, to create the effect of tiles or flagstones. Coachliners are the traditional tools used by signwriters, but they can difficult to control. A good alternative is a lining brush. The trick is to paint smoothly and confidently; if you hesitate, the line will wobble. Use an even pressure all the way. When working on a dry surface, place the little finger of your painting hand on the work surface to help steady your touch.
Softening
Softening is a technique that is frequently used with paint effects to soften and blur hard brush strokes or to blend one color into another. The brush is generally used dry. Hold the brush handle near the base of the bristles and use long, sweeping crisscrossing movements. To soften hard brush strokes, use the softener in the opposite direction to the original strokes. To blend colors one into another, use the softener in the same direction as the original brush strokes.
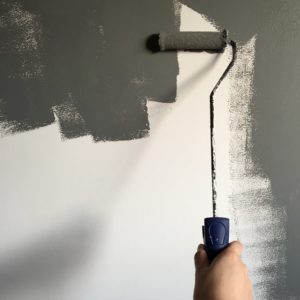
Using a roller
Always use a roller with a tray. Pour some paint into the paint well, taking care not to overfill it: a depth of about ¾ in (2 cm) is usually sufficient.
Loading a roller
Load your roller by rolling it lightly into the paint and then rolling it back and forth on the dimpled surface of the paint tray to cover the roller evenly. Do not overload or you will get drips. Roll your surface, first in one direction and then at right angles to get an even coverage.
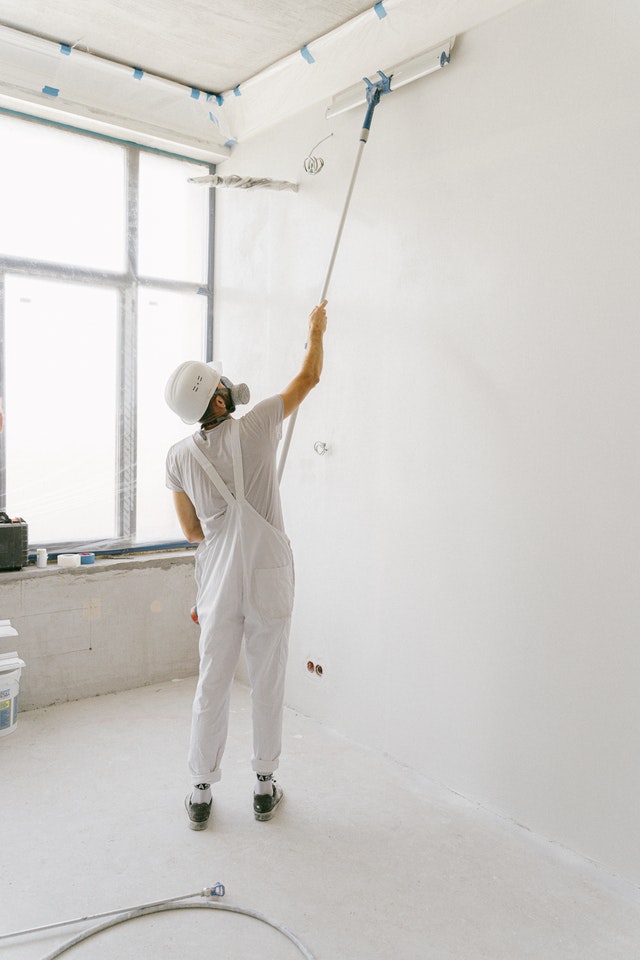
A roller will not paint right up to internal angles; stop painting about 1 in (2.5 cm) from the angle and complete the job using a paintbrush. Stipple the edges and corners rather than finishing with a brush stroke or the textural difference will cause the paint effect to have lines and darker edges. Rollers can be used with an extension pole to paint a ceiling or upper section of a wall without the use of ladders.
Cleaning a roller
Remove the sleeve from the roller and clean it in the appropriate solvent for the paint used. Squeeze out as much excess water as you can and leave to dry thoroughly before storing in a box or bag to keep them clean.
Using a sponge
Many paint effects require the paint to be applied with a sponge, rather than a brush or a roller. For preference, use a cellulose decorator’s sponge, which is close in texture to natural sponge but considerably less expensive. To prepare your sponge for use see left.
Colorwashing
Do not dip the sponge in the paint, as it can easily become overloaded. Instead, brush paint onto the surface of the sponge. Apply the paint to the surface in a figure-of-eight movement, as this makes any marks less visible. Try to work in an area approximately 2 ft. (60 cm) square, keeping the edges of each application irregular. If you are working with a strong color it is more difficult to control the washes, so try to thin down the application of paint around the edge of each application, where the washes meet, by flipping the sponge over to the clean, paint-free side and lifting off some of the color around the edges. Building up thin layers of dilute paint gives a smoother, more uniform finish and a deeper color. Don’t rush by applying thicker paint in fewer layers. Always work with a damp sponge and rinse it out regularly with detergent and water.
Stippling
You can create a textured finish by stippling paint on with a cellulose sponge. To achieve a fine covering when using a fine stencil, use a foam sponge with a dense surface or a foam roller head. Dab the paint on with a “pouncing” motion.
Cleaning your sponge
Clean the sponge in the appropriate solvent for the paint used. Squeeze out as much excess water as you can and leave to dry thoroughly before storing.
Protective Finishes
Having put so much time and effort into creating your paint effect, you will want to protect it and make sure it lasts as long as possible. The instructions in the projects will tell you what finish is most appropriate for each effect.
Applying Liquid Varnishes
Load the brush and work over a limited area at a time. Brush out each stroke with a cross-hatching motion to prevent the brush strokes from being visible. Keep working until the surface has begun to dry slightly, as this will prevent any drips. Always view the surface from different angles to see if you can spot any patches that have been missed. You may need to sand and remove dust between coats for a deeper, smoother finish, or to apply more than one layer for a better overall coverage.
Applying Beeswax
Beeswax should be applied to the surface with a soft, lint-free cloth. Wait for a few minutes for the wax to penetrate the surface, then remove any excess and buff with a clean cloth.
Applying Shellac
Shellac is used to seal gilded and decoupaged effects, and on paint, for a lacquer-style finish before varnishing. The solvent in shellac evaporates very quickly, so careful application is required. Dip a varnish brush into the shellac and glide it onto the surface. After laying on, brush through only twice before evaporation starts, or the smooth look will be spoiled. Wait two hours before applying a top coat of varnish.
Storing Paints and Varnishes
Store any half-empty paint tins upside down: any air that has entered the container will go to the bottom of the tin. When you turn it over to use it again, the paint at the top should still be fluid and useable. Keep any mixes or glazes in sealed and labelled containers rather than throwing them away or returning them to the tin.
Return to Homepage “Golden State Drywall Repair Pros“